
Where there’s smoke….


On Friday night I was sat on the sofa with my better half, a G&T and flicking through images on 500px. It was expected to be a damp and dismal weekend and probably not best to get out and about. So I wanted some inspiration of something to photograph indoor over the weekend. I soon found smoke images and knew we had some josh sticks somewhere in the house, so decided I’d try creating some.
So next day I first set about finding what I needed:-
Josh sticks and holder.
Something to light it with (matches or candle lighter)
Dark/black background (I have a black background for portrait shoots)
Light/table light and flash (I used a gridded strip box - when the modelling light was on it would illuminate the smoke so bright enough to focus on and then flash).
I’m not gonna lie, it took a while to get the set up right. You need to angle the light so it’s lighting the smoke, but then not lighting the background (so the background stays black - that’s why I used a gridded softbox). In my studio I’d got backdrop frame set up behind a table. Had the black fabric over the frame and onto the table, light set up on the side. The air was pretty still, and so the smoke just went up in a straight line. I found I could waft the air slightly with my hand first to get some interesting shapes in the smoke to make more interesting images.
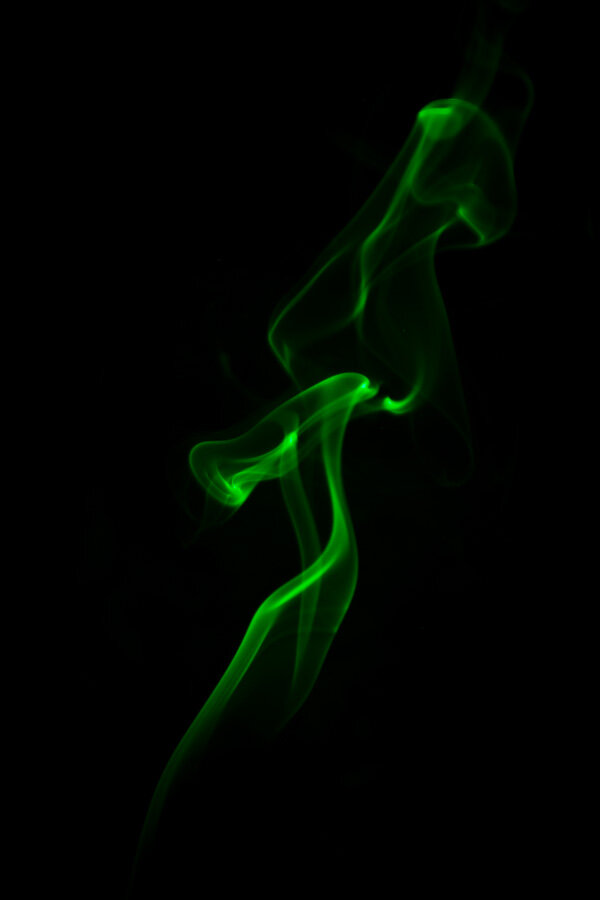
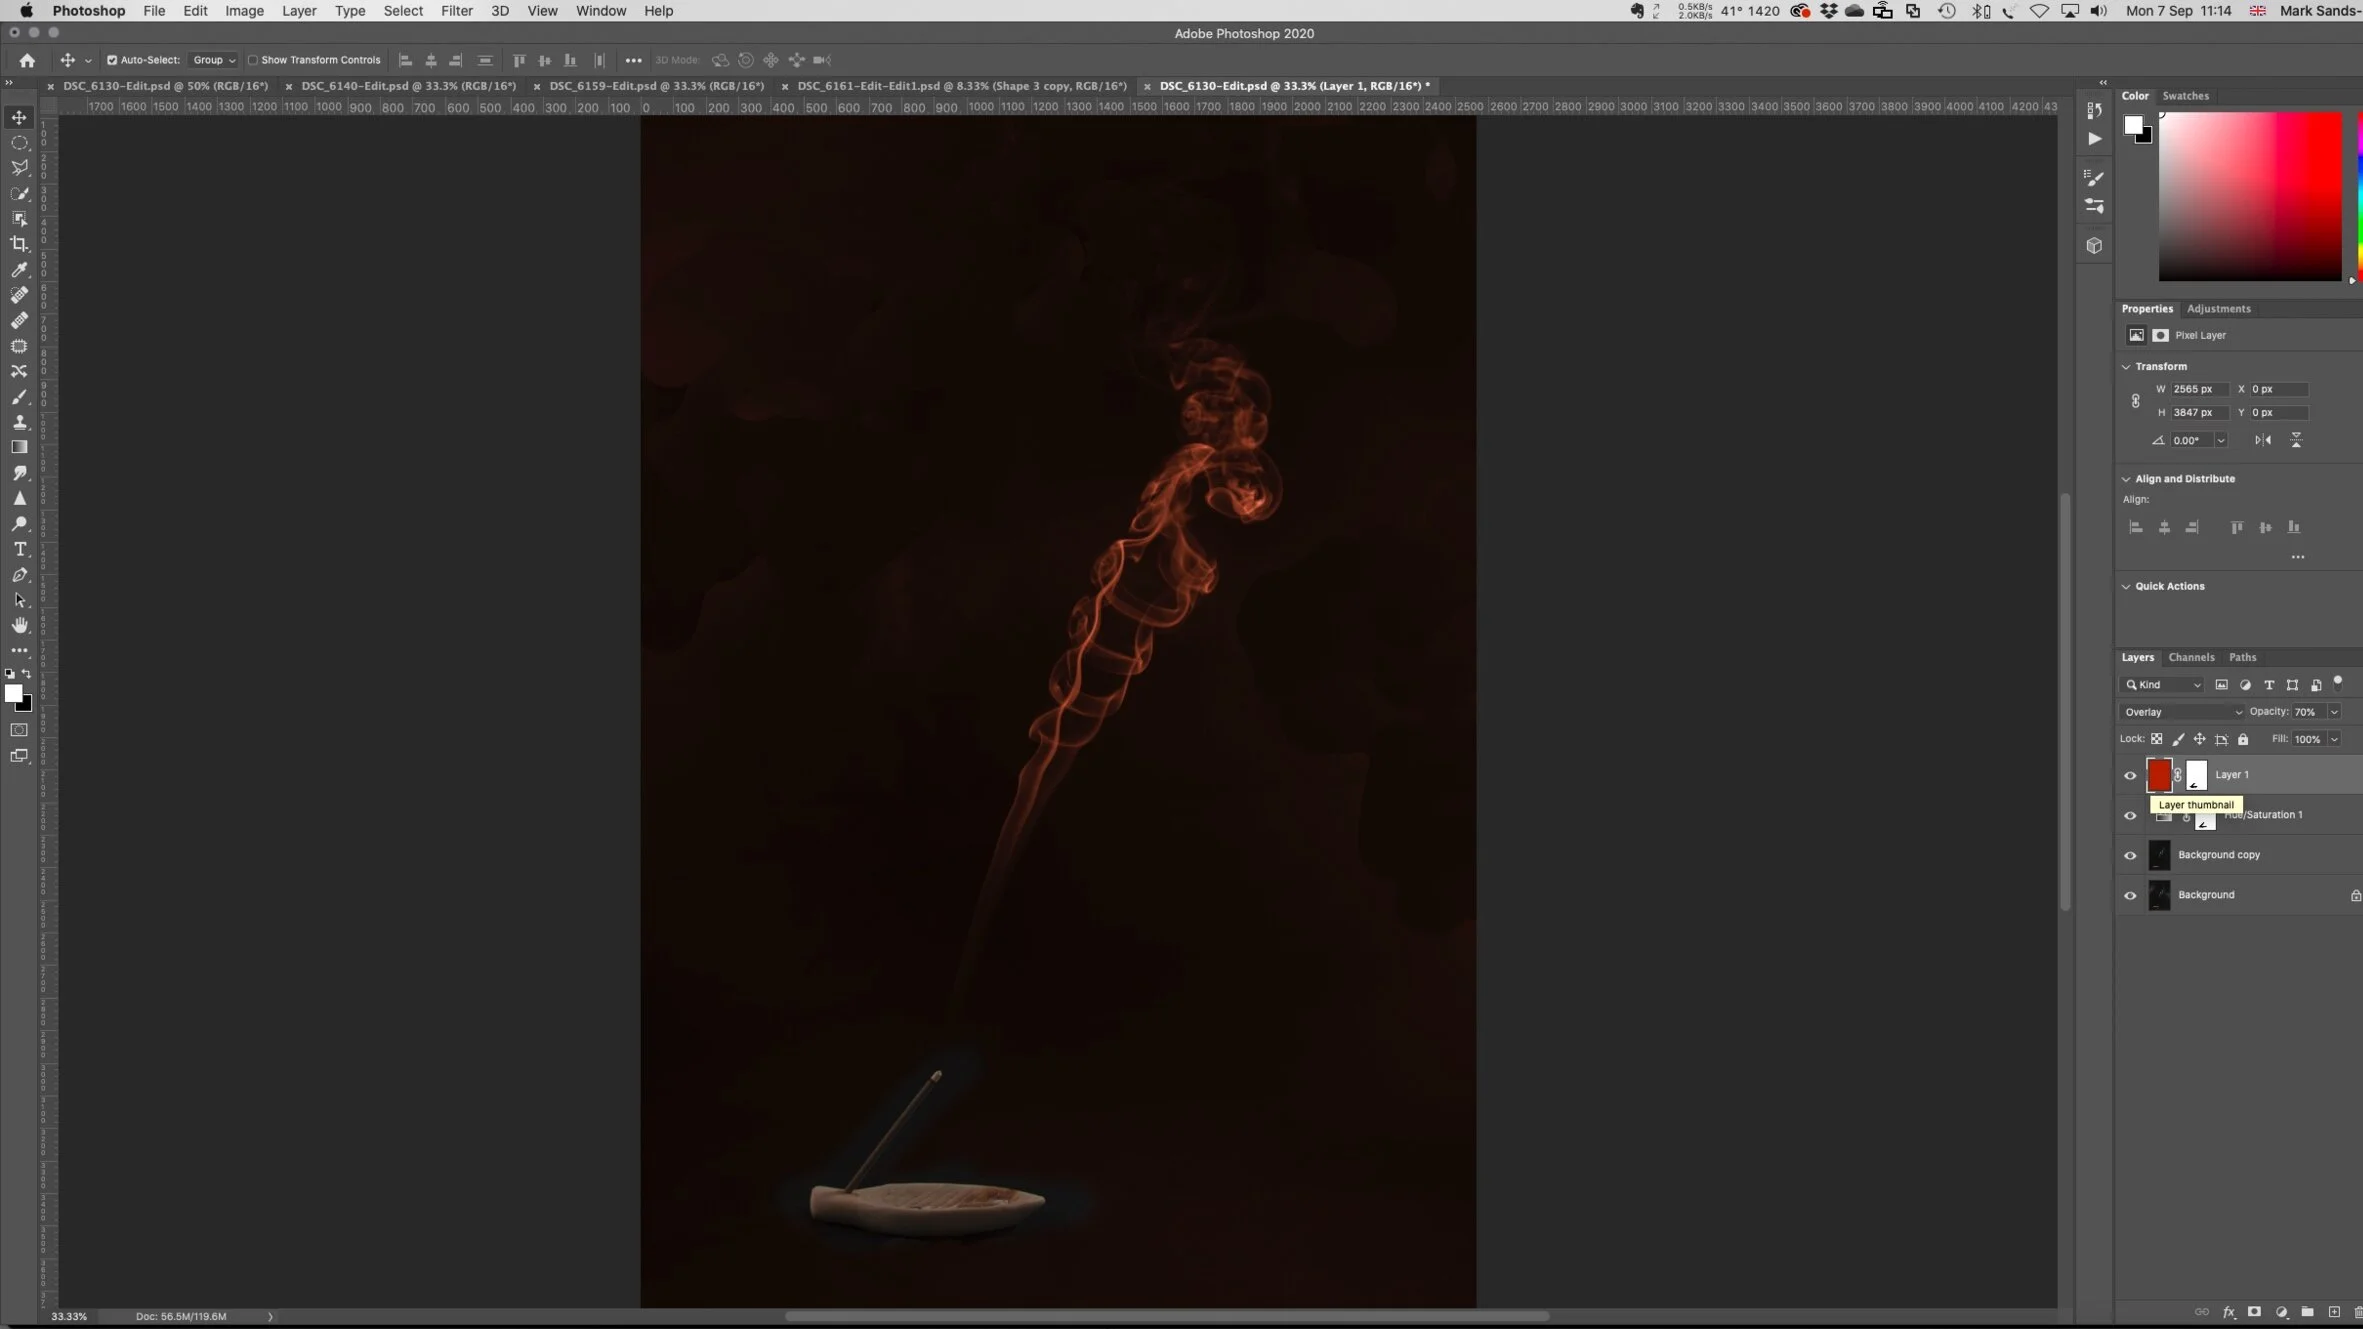
After it was all set up it was pretty easy to get the shots and you just waft the smoke, and shoot! I imported the images (there was a lot), and picked which ones I wanted to used. I darkened the black and increased the whites and highlights to emphasise the smoke more and then exported to Photoshop. In photoshop I desaturated the smoke (had a bit of a yellow tint to it), and then to colour the smoke, added a layer with the colour and changed the blend mode to Overlay. For the Rainbow effect I replaced a colour layer with a gradient, and used the rainbow gradient…again set to Overlay blend. Once back in Lightroom I cropped the image until I was happy and increased clarity!
Love how these came out and filled a couple of hours on a rainy afternoon. Hope you’ve found this useful, any questions or comments please get in touch :)
Until next time, thanks for reading!